This week I am designing a hedgehog crayon tote, but I need to work fast, I am leaving for a wedding on Wednesday!

UPTOTE is my company, I design and make upcycled products for the retail market. Started in 2010, upcycling has been a part of who I am since I was a little girl taking my cable knit socks and cutting them into vests for my dolls. Upcycling takes many forms and hopefully I can share some of my insights with you along the way.
Saturday, February 26, 2011
Sunday, February 20, 2011
curtains for my daughter

 This is the start/ middle of my 6 year old daughters room makeover. She is moving from baby tings to pre-teen. I don't want to have to change this room again for at least 5 years, so this is what I am working on.
Her old curtains were just roman blinds, in off white. Her new curtains are a blue paisley with white trim down each side. I have not hemmed them yet, since I want to trim the bottom in white and she wants them left as is.
We are also trying to decide, what length to hem them, since her windows are all a different distance from the floor.
I was looking in my computer files for old pictures of her room, all I could find was some pictures of when we viewed the house. So this is the before pictures.


Wednesday, February 16, 2011
new clear 3 d bag Tutorial
I am really not a big fan of plastic, I don't like to use it at all, so I purchased a recyclable plastic product for this project. We are going on a trip soon and I need see through bags for the TSA!!!!! The following is my first tutorial on how to make a 3d bag. have fun, I will be making and posting a few (hopefully a few dozen) of these over the next few days!
 First you need a strip of fabric or plastic for the body, I used a piece 11"*22"'
a 10" zipper ( or a zipper the width of your fabric)
The green banding is 4 pieces of 1/2"811" fabric.
and Matching thread!
Cut all your pieces
 sandwich the zipper in between 2 layers of the banding fabric as shown. with the zipper closed.
Stitch down one side

flip the banding so the zipper is on the outside and wrong sides of the fabric are facing each other.

 stitch the other side of the zipper in the same fashion, turn so the zipper is showing. At this point, I like to top stitch the zipper to the fabric, this helps to keep the fabric away from the zipper teeth.
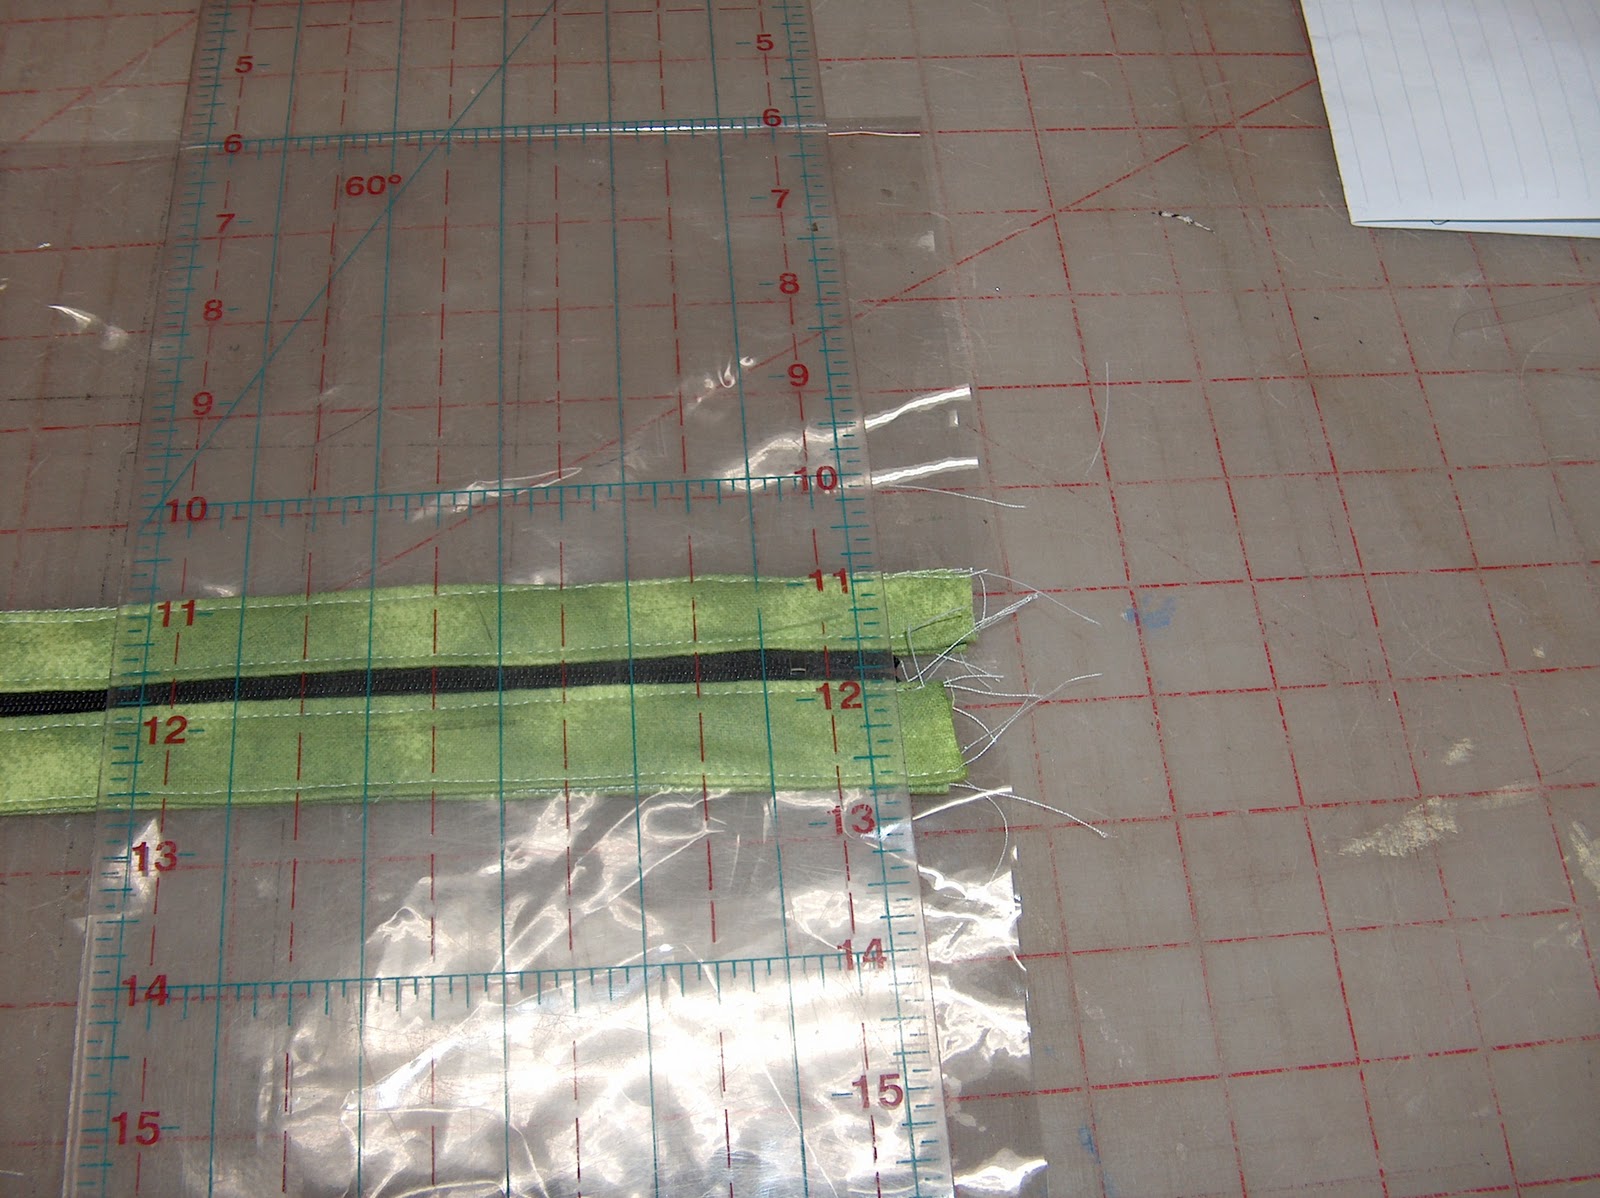
Your project should look something like this.
 Next take the main body fabric and place right wrong side of body to right side of band/zipper piece.
Stitch along the length, use the picture as a reference.
 fold the seam allowance under. turn the seam allowance for the top of the banding under and top stitch the edge.

when you have done both edges you should have a
tube of fabric. that looks like the picture.
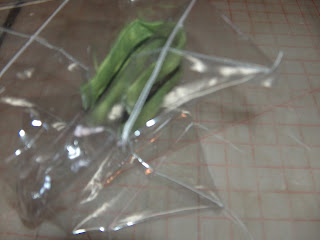
Trim the edges, and line up the zipper so it is in the middle of the tube as shown.

 before we move on to more sewing, turn the project inside out, and open the zipper about half way. By opening the zipper, you will be able to easily turn the box right side out when it is completed.
 Stitch down each side of the bag.
 Now comes the 3d part........Ready for some sewing magic?
Fold the corners diagonally matching side seams to the top of the bag.

 Measure in 2 1/2 " from the corner and mark a straight line to stitch,
On all four corners.......
 cut off the excess of the corner.....

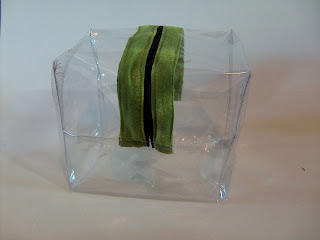
turn right out and enjoy.
 | |
| finished product! 4.5"*5"*6" |

a 10" zipper ( or a zipper the width of your fabric)
The green banding is 4 pieces of 1/2"811" fabric.
and Matching thread!
Cut all your pieces
 sandwich the zipper in between 2 layers of the banding fabric as shown. with the zipper closed.
Stitch down one side

flip the banding so the zipper is on the outside and wrong sides of the fabric are facing each other.


Your project should look something like this.
 Next take the main body fabric and place right wrong side of body to right side of band/zipper piece.
Stitch along the length, use the picture as a reference.


when you have done both edges you should have a
tube of fabric. that looks like the picture.
Trim the edges, and line up the zipper so it is in the middle of the tube as shown.


Fold the corners diagonally matching side seams to the top of the bag.


On all four corners.......


turn right out and enjoy.
Monday, February 14, 2011


A few sneak peaks of the new bag


Sunday, February 13, 2011
Bag soon to come
I am currently designing a large purse that has bags inside bags. What would you call a large purse that had little bags inside a bigger bag?
A bag of bags
UPTOTE tote full of totes.
Pictures are coming soon, a sneak peak and photos of the design process too. This bag is going to be my first PDF pattern. I am going to sell the bag and the smaller, liner bags separately, so you can mix and match. I am in love with the idea and hopefully you will be too.
Caroline

Tuesday, February 8, 2011
I started today!
I started cleaning up today, I still have a long way to go, but in the mean time I came up with a new purse design, that I am planning to make for ME!!! later this week and found a project I want to finish up for my daughter.
 My main studio area, I am working toward, real walls, the insulation is a boring look.
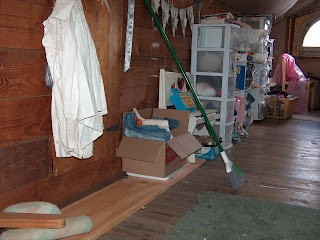 Pay no attention to the thread and scraps on the floors, I am getting to it!
 I love this space, it is so quiet and the natural light is great!
 My new shipping area.
 Shipping supplies and completed inventory!
I also picked up some fabric from a client to make valances! So go, go , go, no rest for UPTOTE!


I also picked up some fabric from a client to make valances! So go, go , go, no rest for UPTOTE!
OK, so I lost track of time
Over the last week, with all the snow here in NY, I kind of lost track of the time. I had several supply orders and sold a few key fobs, so the business is moving right along. On the other hand, the clean up of my sewing studio has come to an abrupt halt.
As I write this, at 6:40 am, sitting with my coffee in hand, I am planning out the day of sewing. My business model has changed slightly and i am refocusing on making patterns for my products. I need to purchase adobe acrobat in order to make a great pattern and sell it, so my goal over the next few months is to come up with 10 designs and make the patterns, have them tested and get them up and running on etsy.
Any suggestions out there in blog land?
Subscribe to:
Posts (Atom)